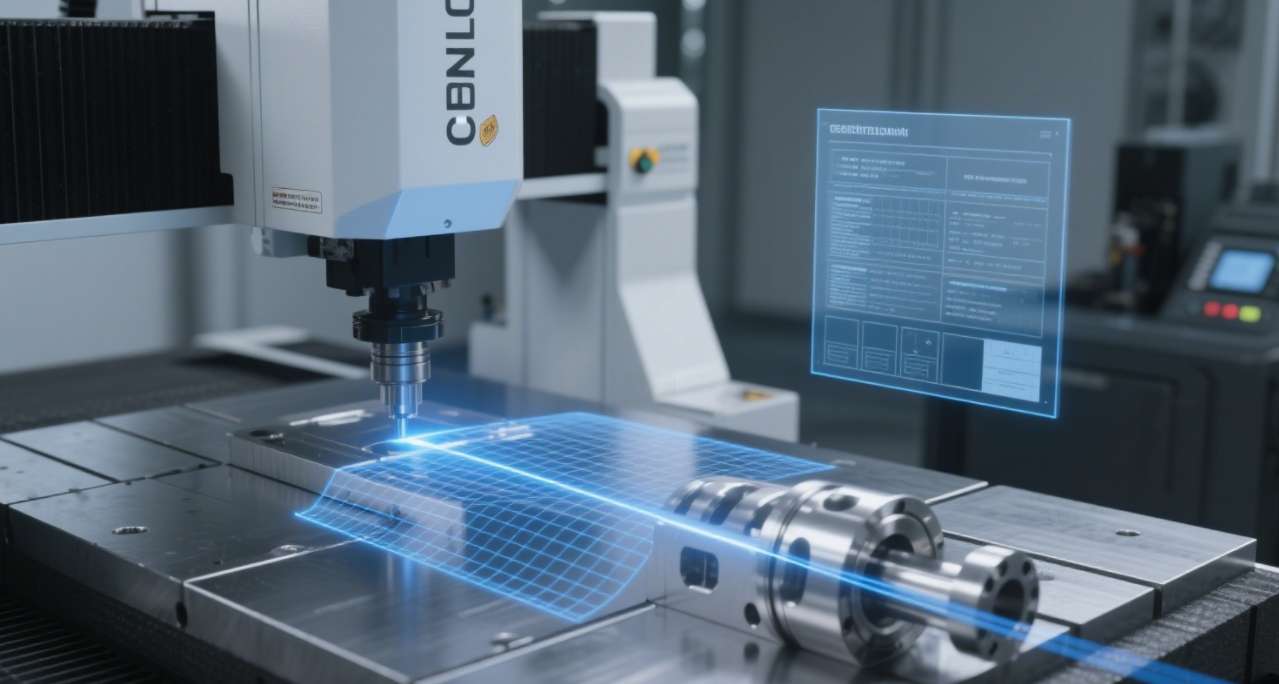
The British industrial standards are renowned worldwide for their rigor, especially in the field of precision manufacturing. For British partners seeking long-term and stable cooperation, the quality commitment of a CNC machining supplier is not only a reflection of technical capability but also the cornerstone of business trust. We fully understand this and have built an end-to-end quality inspection closed-loop system tailored to the unique requirements of the British market, with a core focus on “micron-level precision” in execution and “full-process transparency” in collaborative visibility.
The starting point of this system is the stringent control of the input end. All raw materials entering the production process, whether metal substrates or precision component blanks, must pass material certification and initial size verification in accordance with international standards. Our CNC precision machining journey begins with every set of foundation data that has been doubly verified. This ensures that the subsequent complex cutting and multi-axis联动core processes can be carried out under controlled physical conditions, laying the foundation for micron-level tolerance control.
Real-time monitoring and proactive defense during the manufacturing process form the core pillars of quality assurance. Our CNC equipment cluster not only has high-precision dynamic compensation capabilities but is also deeply integrated with in-process inspection modules. Control of critical dimensions' tolerance bands is no longer a passive sampling inspection at the end of the batch, but rather real-time process verification for each workpiece during the machining cycle. Operators and quality engineers share the same real-time data dashboard. Any subtle trend deviation will trigger a pre-set yellow alert, and the system automatically pushes warnings to the relevant responsible persons, driving immediate on-site process intervention and parameter adjustment. This seamless collaboration mechanism intercepts problems in the bud, significantly reducing the risk of scrap.
The validation before finished goods shipment is the ultimate line of defense for our commitment. We go beyond the norm and adopt a full-size coverage final inspection strategy. High-precision coordinate measuring machines (CMM) and white light scanning systems work together to generate detailed 3D comparison reports and enlarged images of key locations. Each precision component customized for British clients not only includes a standardized certificate of conformity in its inspection data package but also a complete set of image measurement reports and process video clips traceable to the specific machining equipment, operator, and inspection timestamp. The British procurement team can access this database at any time through secure permissions, as if they were on the production line themselves, scrutinizing every quality detail.
The execution of this end-to-end quality inspection closed-loop is rooted in the company's intrinsic proactive quality culture. Every employee is empowered and encouraged to be a quality “sentinel.” Daily cross-departmental quality meetings focus on potential risks rather than post-event blame. We believe that transparent data sharing and barrier-free collaboration are the keys to winning the long-term trust of British partners. Micron-level commitment is not only reflected in our precision CNC machining capabilities but also in the rigorous attitude and verifiable execution that runs through every link. What we deliver is not just components but a certainty of quality that runs through the entire process.
To learn more about how we can provide trustworthy precision assurance for your key projects, please visit: www.simituo.com