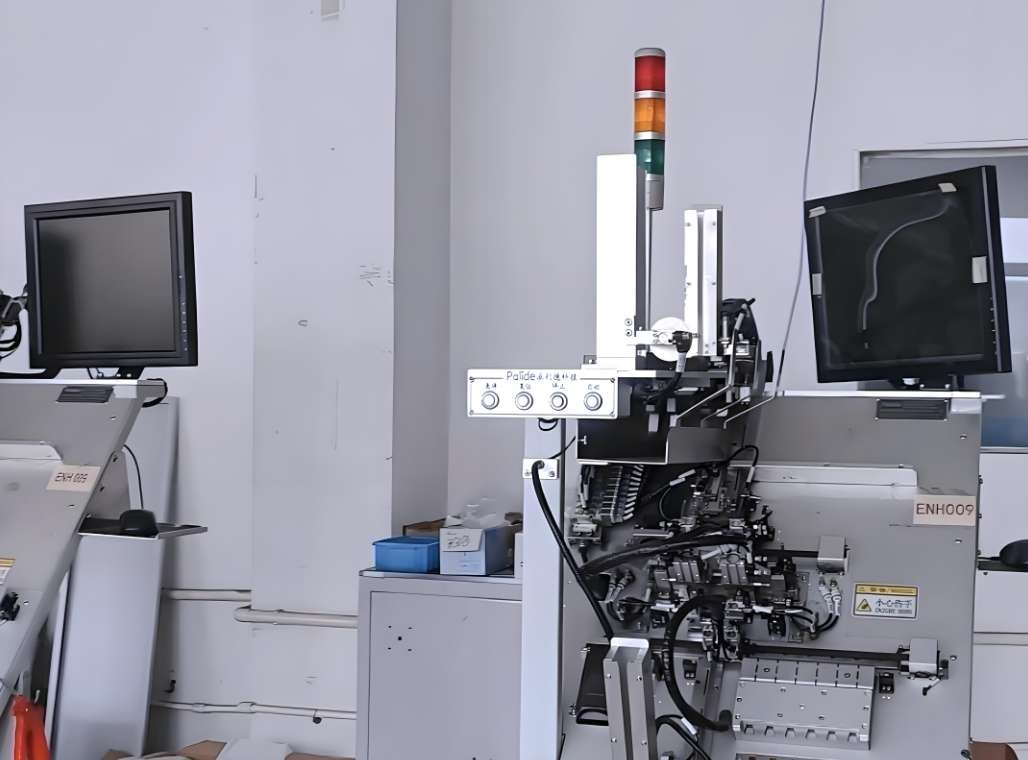
When a million-dollar photovoltaic junction box automatic assembly line passes all functional tests but collapses in positioning accuracy due to slight frame deformation three months into mass production;when a medical catheter automation production line meets the rhythm requirements but causes invisible damage to precision parts due to excessive vibration—these painful lessons reveal the core truth of non-standard equipment acceptance:meeting functional requirements is just the starting point,while hidden structural risks are the key to determining the equipment's lifecycle.
Three-Dimensional Hidden Inspection Framework
First Dimension:The Invisible Battlefield of Structural Rigidity
Case:Details ignored during the acceptance of a new energy battery module assembly line
•Foundation Resonance Detection:Apply 5-80Hz sweep frequency vibration using a vibrator and measure whether the frame amplitude is≤12μm(equivalent to 1/6 of a human hair diameter).
•Thermal Deformation Mapping:After continuous operation for 24 hours,use a laser tracker to detect the displacement of key positioning modules(standard:≤0.05mm/m).
•Stress Distribution Visualization:Under rated load,attach strain gauges to verify whether the stress concentration areas exceed the material's yield strength by 30%.
This production line,which did not inspect the residual stress of the welded frame,experienced a 0.3mm deformation six months into mass production,causing a surge in scrap rate—and the repair cost was 20 times the original acceptance inspection investment.
Second Dimension:The Hidden Loss of Dynamic Precision
Examples of pitfalls in the acceptance of a robotic polishing unit
•Trajectory Precision Degradation Test:Have the actuator repeat a complex spatial path 5000 times and detect the degradation of end-point repeat positioning accuracy(warning line:>±0.03mm).
•Speed Disturbance Monitoring:During high-speed motion,use a laser Doppler instrument to capture the speed fluctuation rate(pass standard:<1.5%).
•Instantaneous Overload Response:Simulate a sudden 20%increase in load and record the time for the servo system to return to a steady state(medical equipment requirement:<50ms).
A car parts factory,which ignored vibration exceeding standards during acceleration changes,experienced batch breakage of fixture locating pins for precision metal parts processed by turning and milling after eight weeks.
Deep Validation of Process Reliability
Special Inspection Items for CNC Integrated Equipment
When an automation system includes a machining unit,additional tests are required:
•Cutting Force Disturbance Test:Measure the vibration transmission rate of the equipment base platform while the spindle is running at full speed(standard:<5μm/N).
•Thermal Displacement Compensation Verification:Continuously machine 20 typical workpieces and use a laser interferometer to detect the tip position drift(allowable value:±8μm).
•Chip Control Capability:After four hours of operation,observe whether there are micrometer-level chips remaining in the chip removal system(a precision bearing assembly line once suffered millions in losses due to residual aluminum chips).
A photovoltaic junction box automatic drilling machine,which did not inspect the corrosion of cutting fluid vapor,experienced rust and seizure of linear guides after three months.
Modern Acceptance with Data Feedback Loop
Establishing a Digital Twin Health Record for Equipment
•Vibration Fingerprint Archiving:Use a spectrum analyzer to record the frequency spectrum of the new machine as baseline data.
•Current Waveform Analysis:Compare the harmonic distortion rate changes in the servo motor drive current.
•Thermal Imaging Tracking:Use an infrared thermal imager to take monthly temperature distribution maps of key components.
A semiconductor automation sorting machine that adopted this system:
•Detected linear module wear six weeks in advance.
•Reduced downtime by 83%.
•Extended equipment lifecycle by 40%.
From Acceptance to Co-Evolution
When a medical device manufacturer accepted an artificial joint automation production line:
• Discovered a 120μm micro-displacement of the robot arm base during emergency stop conditions.
• Collaborated with the supplier to optimize the foundation connection structure.
• Reduced vibration energy transmission rate by 60%.
• The supplier obtained key technology patents.
This collaboration increased the equipment's MTBF(Mean Time Between Failures)from 2000 hours to 6500 hours,proving the value of in-depth acceptance—it is not just a quality checkpoint,but also an incubator for technological evolution.
True Non-Standard Automation Equipment Acceptance
It is about using scientific instruments to listen to the"breathing"of the steel frame and using data streams to track the"pulse"of mechanical nerves.The next time you stand beside the roaring production line,remember:the structural stress,energy transmission,and dynamic degradation hidden beneath the functional facade are the genetic codes that determine the equipment's ten-year lifecycle.In the high-end manufacturing field,excellent acceptance standards are not costs,but forward-thinking wisdom to mitigate risks—this is the most reliable milestone on the journey of metal part machining automation.