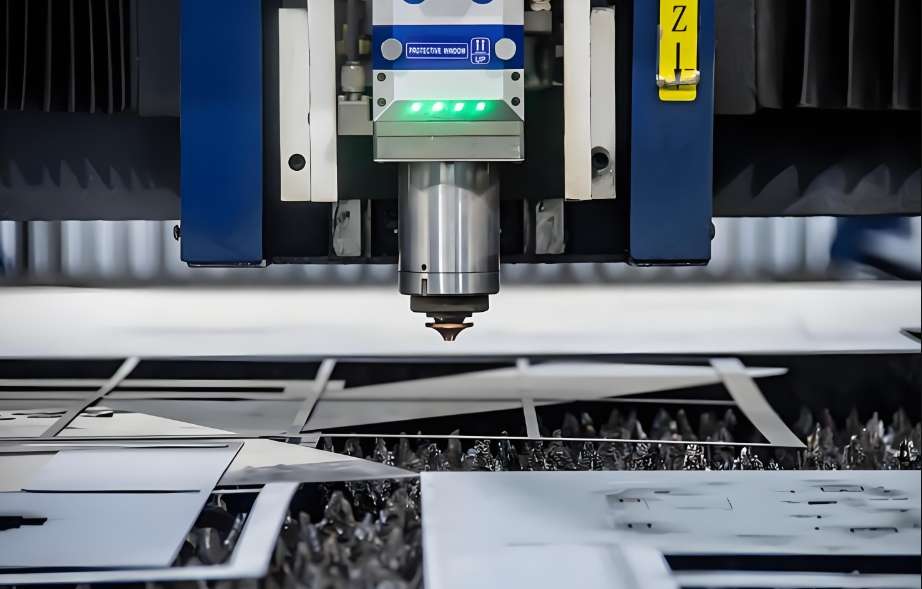
When the shop floor must combine additively formed, labyrinthine coolant channels with millimetre-scale metallic fins or embed ceramic sensing elements into aluminium-alloy brackets, conventional machining begins to fail. A metal 3-D printer can create internal geometries no conventional tool can reach, while stamped sheet metal still delivers the structural strength demanded by mass production—yet the joint between them has become the silent killer of yield. In one laser-cooling module, the mismatch in thermal-expansion coefficients between a nickel-based printed core and a copper sheet caused a 12 µm displacement crack after only 300 thermal cycles, driving a 23 % drop in cooling efficiency.
Layer-by-layer metal deposition creates microscopic heterogeneity. During post-print finishing this non-uniformity translates into erratic cutting-force fluctuations that erode surface integrity. Even more troublesome is the high-frequency chatter provoked when micro-drilling thin sheet; hairline cracks nucleate along hole edges. When dissimilar metals meet—such as a laser-melted heat-resistant alloy joined to a stamped sheet—their galvanic potential establishes an invisible current path that steadily erodes the interface. In one micro-nozzle case, the joint between the alloy core and its housing developed a through-thickness corrosion pit after only 4 028 h of service; accelerated testing showed an electrolytic attack rate fourteen times the baseline.
The breakthrough begins with a dynamic-response system.
• A vacuum-coupled fixture for additively grown surfaces employs a distributed pressure array to perform real-time levelling, keeping distortion within the micrometre band.
• In sheet-metal micro-machining, a vibration-aware tool system is introduced. When a 0.2 mm diamond-coated tungsten-carbide end-mill—one of the core CNC precision accessories—detects a specific harmonic signature, its built-in phase-cancellation circuit generates a counter-force field within milliseconds. This drives the roundness error of micro-holes in 0.5 mm stainless steel down to 1.5 µm.
The true value emerges in the instant of cross-domain machining. As the spindle exits the melt-pool zone and approaches the sheet-metal edge, three synergistic actions are autonomously triggered: cutting-dynamics parameters are swapped according to the hardness gradient; a cryogenic gas curtain suppresses interfacial stress concentration; and a micron-scale contour-finishing routine is activated. All of this occurs in a single setup, eliminating the cumulative errors of traditional multi-fixture cycles and tripling overall positioning accuracy.
The process knowledge base now stores more than five thousand manufacturing-feature spectra. It maps non-linear relationships between phase transformations and chatter marks, and deciphers the coupling laws between blanking parameters and edge-burr formation. When producing a high-precision sensor base, the system autonomically retrieves historic models, stabilising the mating tolerance between the additive structure and sheet-metal housing at the sub-micron fringe. Field data confirm that the integrated solution can converge fluid-component assembly gaps to the hundred-micron level and push seal-test pass rates to the industry’s top tier.